VII. Setup Mailserver
In this guide, we will setup Mailserver containerized inside docker. I choose Docker Mailserver because it's a production-ready fullstack but simple containerized mail server (SMTP, IMAP, LDAP, Antispam, Antivirus, etc.). Only configuration files, no SQL database. Keep it simple and versioned. Easy to deploy and upgrade.
Before we setup a mail server, make sure hostname and hosts already set.
If you are not sure please read this Initial Setup guide.
In this guide will choose /srv/ as path for Docker applications.
1. Deploy Docker-Mailer
We will setup a mailer server that support:
- SSL with Let's Encrypt
- Fail2Ban Protection
- Correct Timezone
- DKIM, DMARC and SPF
- RSPAMD Spam Filtering System
a. Create a directory
mkdir /srv/mailserver/
Then go to its directory
cd /srv/mailserver/
b. Create Docker Compose
nano docker-compose.yml
Then paste this
services:
  mailserver:
    image: ghcr.io/docker-mailserver/docker-mailserver:15
    container_name: mailserver
    # Provide the FQDN of your mail server here (Your DNS MX record should point to this value)
    hostname: mail.yourdomain.com
    ports:
      - "25:25"    # SMTP  (explicit TLS => STARTTLS)
      - "143:143"  # IMAP4 (explicit TLS => STARTTLS)
      - "465:465"  # ESMTP (implicit TLS)
      - "587:587"  # ESMTP (explicit TLS => STARTTLS)
      - "993:993"  # IMAP4 (implicit TLS)
      - "11334:11334" # Rspamd Web Interface
    volumes:
      - ./docker-data/dms/mail-data/:/var/mail/
      - ./docker-data/dms/mail-state/:/var/mail-state/
      - ./docker-data/dms/mail-logs/:/var/log/mail/
      - ./docker-data/dms/config/:/tmp/docker-mailserver/
      - ./docker-data/certbot/certs/:/etc/letsencrypt
      - /etc/localtime:/etc/localtime:ro
    environment:
      # Brute Force Protection
      - ENABLE_FAIL2BAN=1
      # Using letsencrypt for SSL/TLS certificates:
      - SSL_TYPE=letsencrypt
      # Allow sending emails from other docker containers:
      # Beware creating an Open Relay: https://docker-mailserver.github.io/docker-mailserver/latest/config/environment/#permit_docker
      - PERMIT_DOCKER=network
      # Mail spoofing denied: https://docker-mailserver.github.io/docker-mailserver/latest/config/environment/#spoof_protection
      - SPOOF_PROTECTION=1
      # Supporting MTA-STS for outbound mail: https://docker-mailserver.github.io/docker-mailserver/latest/config/best-practices/mta-sts/
      - ENABLE_MTA_STS=1
      # Spam messages will be delivered to the Junk mailbox.
      - MOVE_SPAM_TO_JUNK=1
      # Set Timezone
      - TZ=Europe/London
      # Using RSPAMD
      - ENABLE_RSPAMD=1
      - ENABLE_CLAMAV=1
      - RSPAMD_GREYLISTING=1
      # Rspamd replaces the functionality of all these anti-spam services, disable them:
      - ENABLE_OPENDKIM=0
      - ENABLE_OPENDMARC=0
      - ENABLE_POLICYD_SPF=0
      - ENABLE_AMAVIS=0
      - ENABLE_SPAMASSASSIN=0
      # Provided you've set `RSPAMD_GREYLISTING=1`, also disable Postgrey:
      - ENABLE_POSTGREY=0
    cap_add:
      - NET_ADMIN # For Fail2Ban to work
    logging:
      driver: json-file
      options:
        max-size: "100m"
        max-file: "20"
    restart: unless-stopped
As you can see from above,
- The container name is
mailserver. So for the next, we will call it asmailserverinstead of Docker Mailserver. - Don't forget to adjust the timezone, date time on mailer is very important.
c. Deploy Mailserver
Now deploy the Docker Mailserver in background mode.
docker compose up -d
d. Add new default email
Docker mailserver will get stopped in minutes, so you have to make this process as fast as possible.
# default email (we will use this later)
# for reporting and asking ssl
docker exec mailserver setup email add [email protected] yourpassword
e. Try to see the logs
docker logs mailserver -f
2. Adjusting Firewall
We have to open the ports for mailer.
ufw allow 25/tcp && ufw allow 143/tcp && ufw allow 465/tcp && ufw allow 587/tcp && ufw allow 993/tcp
3. Configure SSL
a. Getting a Certificate
First, we have to stop nginx service
systemctl stop nginx
Now run this again
docker run --rm -it \
  -v "${PWD}/docker-data/certbot/certs/:/etc/letsencrypt/" \
  -v "${PWD}/docker-data/certbot/logs/:/var/log/letsencrypt/" \
  -p 80:80 \
  certbot/certbot certonly --standalone -d mail.yourdomain.com
There is interactive action needed to answer, just press y and enter.
Done, now your mail server already support SSL.
Now don't forget to run nginx again
systemctl start nginx
Restart Mailserver
docker compose down
docker compose up -d
b. Make it Automatically Renew
We have to create a bash script and make it execute scheduled with Cronjob.
Still on directory /srv/mailserver/.
Create a new file autorenewssl.sh.
nano autorenewssl.sh
Then paste this
#!/bin/sh
cd /srv/mailserver/
systemctl stop nginx
docker run --rm \
  -v "${PWD}/docker-data/certbot/certs/:/etc/letsencrypt/" \
  -v "${PWD}/docker-data/certbot/logs/:/var/log/letsencrypt/" \
  -p 80:80 \
  certbot/certbot renew
systemctl start nginx
Then save it by press ctrl+x then press y and enter.
Now give an executable permission on it.
chmod +x autorenewssl.sh
Make it auto renew with Cronjob
crontab -e
0 1 * * * /usr/bin/sh /srv/mailserver/autorenewssl.sh >> /var/log/autorenewssl.log 2>&1
0 1 * * * /usr/bin/sh /srv/mailserver/autorenewssl.sh >> /var/log/autorenewssl.log 2>&1
Explanation:
- Cronjob will check and auto renew the certificate for every day at 01.00 AM.
- Cronjob will log any output at /var/log/autorenewssl.log
If this is the first time you're setting the cronjob, you can test it by running this command.
env -i /bin/sh /srv/mailserver/autorenewssl.sh
4. Setup Fail2Ban
We don't need to setup Fail2Ban on email, because it was already did automatically from docker-compose.yml.
So here is the way to manage it.
a. See All Banned IP
docker exec mailserver setup fail2ban
b. Manage a Banned IP
docker exec mailserver setup fail2ban [<ban|unban> <IP>]
c. View the Fail2Ban Log
docker exec mailserver setup fail2ban log
d. Prevent container from self banned (optional)
Now, Make sure we still on the right path
cd /srv/mailserver/
Create new config fail2ban-jail.cf to override the default fail2ban config
nano docker-data/dms/config/fail2ban-jail.cf
then paste this
[DEFAULT]

# "bantime" is the number of seconds that a host is banned.
bantime = 1w

# A host is banned if it has generated "maxretry" during the last "findtime"
# seconds.
findtime = 1w

# "maxretry" is the number of failures before a host get banned.
maxretry = 6

# "ignoreip" can be a list of IP addresses, CIDR masks or DNS hosts. Fail2ban
# will not ban a host which matches an address in this list. Several addresses
# can be defined using space (and/or comma) separator.
ignoreip = 127.0.0.1/8 10.0.0.0/8 172.16.0.0/12 192.168.0.0/16

# default ban action
# nftables-multiport: block IP only on affected port
# nftables-allports:  block IP on all ports
banaction = nftables-allports

[dovecot]
enabled = true

[postfix]
enabled = true
# For a reference on why this mode was chose, see
# https://github.com/docker-mailserver/docker-mailserver/issues/3256#issuecomment-1511188760
mode = extra

# This jail is used for manual bans.
# To ban an IP address use: setup.sh fail2ban ban <IP>
[custom]
enabled = true
bantime = 180d
port = smtp,pop3,pop3s,imap,imaps,submission,submissions,sieve
The ignoreip already ignore all private ip network.
ignoreip = 127.0.0.1/8 10.0.0.0/8 172.16.0.0/12 192.168.0.0/16
Save it by press ctrl+x then press y and enter.
Now restart the mail server
docker restart mailserver
Check if the configuration already exist inside the container
docker exec -it mailserver nano /etc/fail2ban/jail.d/user-jail.local
5. Create Email Account
docker exec mailserver setup email add [email protected] yourpassword
We will use [email protected] for OpenSSO later.
6. Setup DKIM
Mailserver doesn't include DKIM as default.
so we have to generate it.
a. Generate new DKIM
Now we generate new DKIM with keysize 1024
docker exec -it mailserver setup config dkim keysize 1024 domain 'yourdomain.com'
Then you will see the output result of generated new DKIM in your screen.
b. Add it in your DNS Cloudflare.
Type: TXT
Name: mail._domainkey
Proxy: DNS Only
TTL: 3600 / 1hr
Content:
v=DKIM1; h=sha256; k=rsa; p=MIGfMA0GCSqGSIb3DQEBAQUAA4GNADCBiQKBgQCsDYT31TLY8vfXEzT2CnQ3/SBf8krZFtZgkdbeEUbfvnCc64vsplACJnAjfKUx7QgVyf134hdhFy8bdJe2tzbe2dyNJ8AX/jSDDoFD+ocXqo6uNZLD+4xi0/xiHdv8yWeB7KUbzi0/u2nJWFAzGyZdR3i7O8FwTfTx1v+IJFHitwIDAQAB
Make sure you remove any double quotes and concat it carefully like the example above.
Because it could lead invalid signature if you didn't care about this.
Incase you want to delete DKIM
a. Go to the mailserver container
docker exec -it mailserver bash
b. Delete current DKIM
rm -rf /tmp/docker-mailserver/opendkim
Now exit from mailserver container.
exit
7. Setup DMARC
Go to your clouflare and then add this in DNS section.
Type: TXT
Name: _dmarc
Proxy: DNS Only
TTL: 3600 / 1hr
Content:
v=DMARC1; p=reject; sp=reject; fo=0; adkim=r; aspf=r; pct=100; rf=afrf; ri=86400; rua=mailto:[email protected]; ruf=mailto:[email protected]
Done.
8. Setup SPF
Go to your clouflare and then add this in DNS section.
Type: TXT
Name: yourdomain.com
Proxy: DNS Only
TTL: 3600 / 1hr
Content:
v=spf1 mx include:_spf.google.com ~all
Done.
9. Test your email
We have already setup the mail server. There is no web email client in this server.
So you need an email client software like Mozilla Thunderbird.
Here is the information detail about your email server.
Username : [email protected]
Password : [yourpassword]

IMAP Server : mail.yourdomain.com
IMAP Port : 993
Connection : SSL/TLS

SMTP Server : mail.yourdomain.com
SMTP Port : 465
Connection : SSL/TLS
10. Test the security
We already setup the basic security DKIm, DMARC and SPF.
Now you can test it using website:
Now you already have the secured mail server.
11. Setup Roundcube [Optional]
Roundcube is an email client based web app.
a. Create new directory roundcube
mkdir /srv/roundcube
Now go to its directory
cd /srv/roundcube
b. Create new file docker-compose.yml
nano docker-compose.yml
and then paste this
version: '2'

services:
  roundcubemail:
    image: roundcube/roundcubemail:latest
    container_name: roundcubemail
    volumes:
      - ./www:/var/www/html
      - ./db/sqlite:/var/roundcube/db
    ports:
      - 9002:80
    environment:
      - ROUNDCUBEMAIL_DB_TYPE=sqlite
      - ROUNDCUBEMAIL_SKIN=elastic
      - ROUNDCUBEMAIL_DEFAULT_HOST=tls://mail.yourdomain.com
      - ROUNDCUBEMAIL_SMTP_SERVER=tls://mail.yourdomain.com
    logging:
      driver: json-file
      options:
        max-size: "10m"
        max-file: "3"
    restart: unless-stopped
now save it by press ctrl+x then press y and enter.
Don't forget to rename tls://mail.yourdomain.com with your domain.
c. Deploy Roundcube
docker compose up -d
d. Add config to nginx
nano /etc/nginx/conf.d/domain.conf
add this to very below
server {
    listen 80;
    listen [::]:80;

    server_name webmail.yourdomain.com;

    root /srv/roundcube/www;

    location / {
        proxy_pass              http://172.17.0.1:9002;
        proxy_set_header        Host $host;
        proxy_set_header        X-Real-IP $remote_addr;
        proxy_set_header        X-Forwarded-For $proxy_add_x_forwarded_for;
        proxy_set_header        X-Forwarded-Proto $scheme;
    }
}
now save it by press ctrl+x then press y and enter.
e. Make a Test
Make sure your domain.conf is correct.
nginx -t
nginx: the configuration file /etc/nginx/nginx.conf syntax is ok
nginx: configuration file /etc/nginx/nginx.conf test is successful
f. Restart NGINX
systemctl restart nginx
Done, now you can access your webmail by visiting: https://webmail.yourdomain.com
Your informasi login is same with your email.
Example:
Username : [email protected]
Password : [yourpassword]
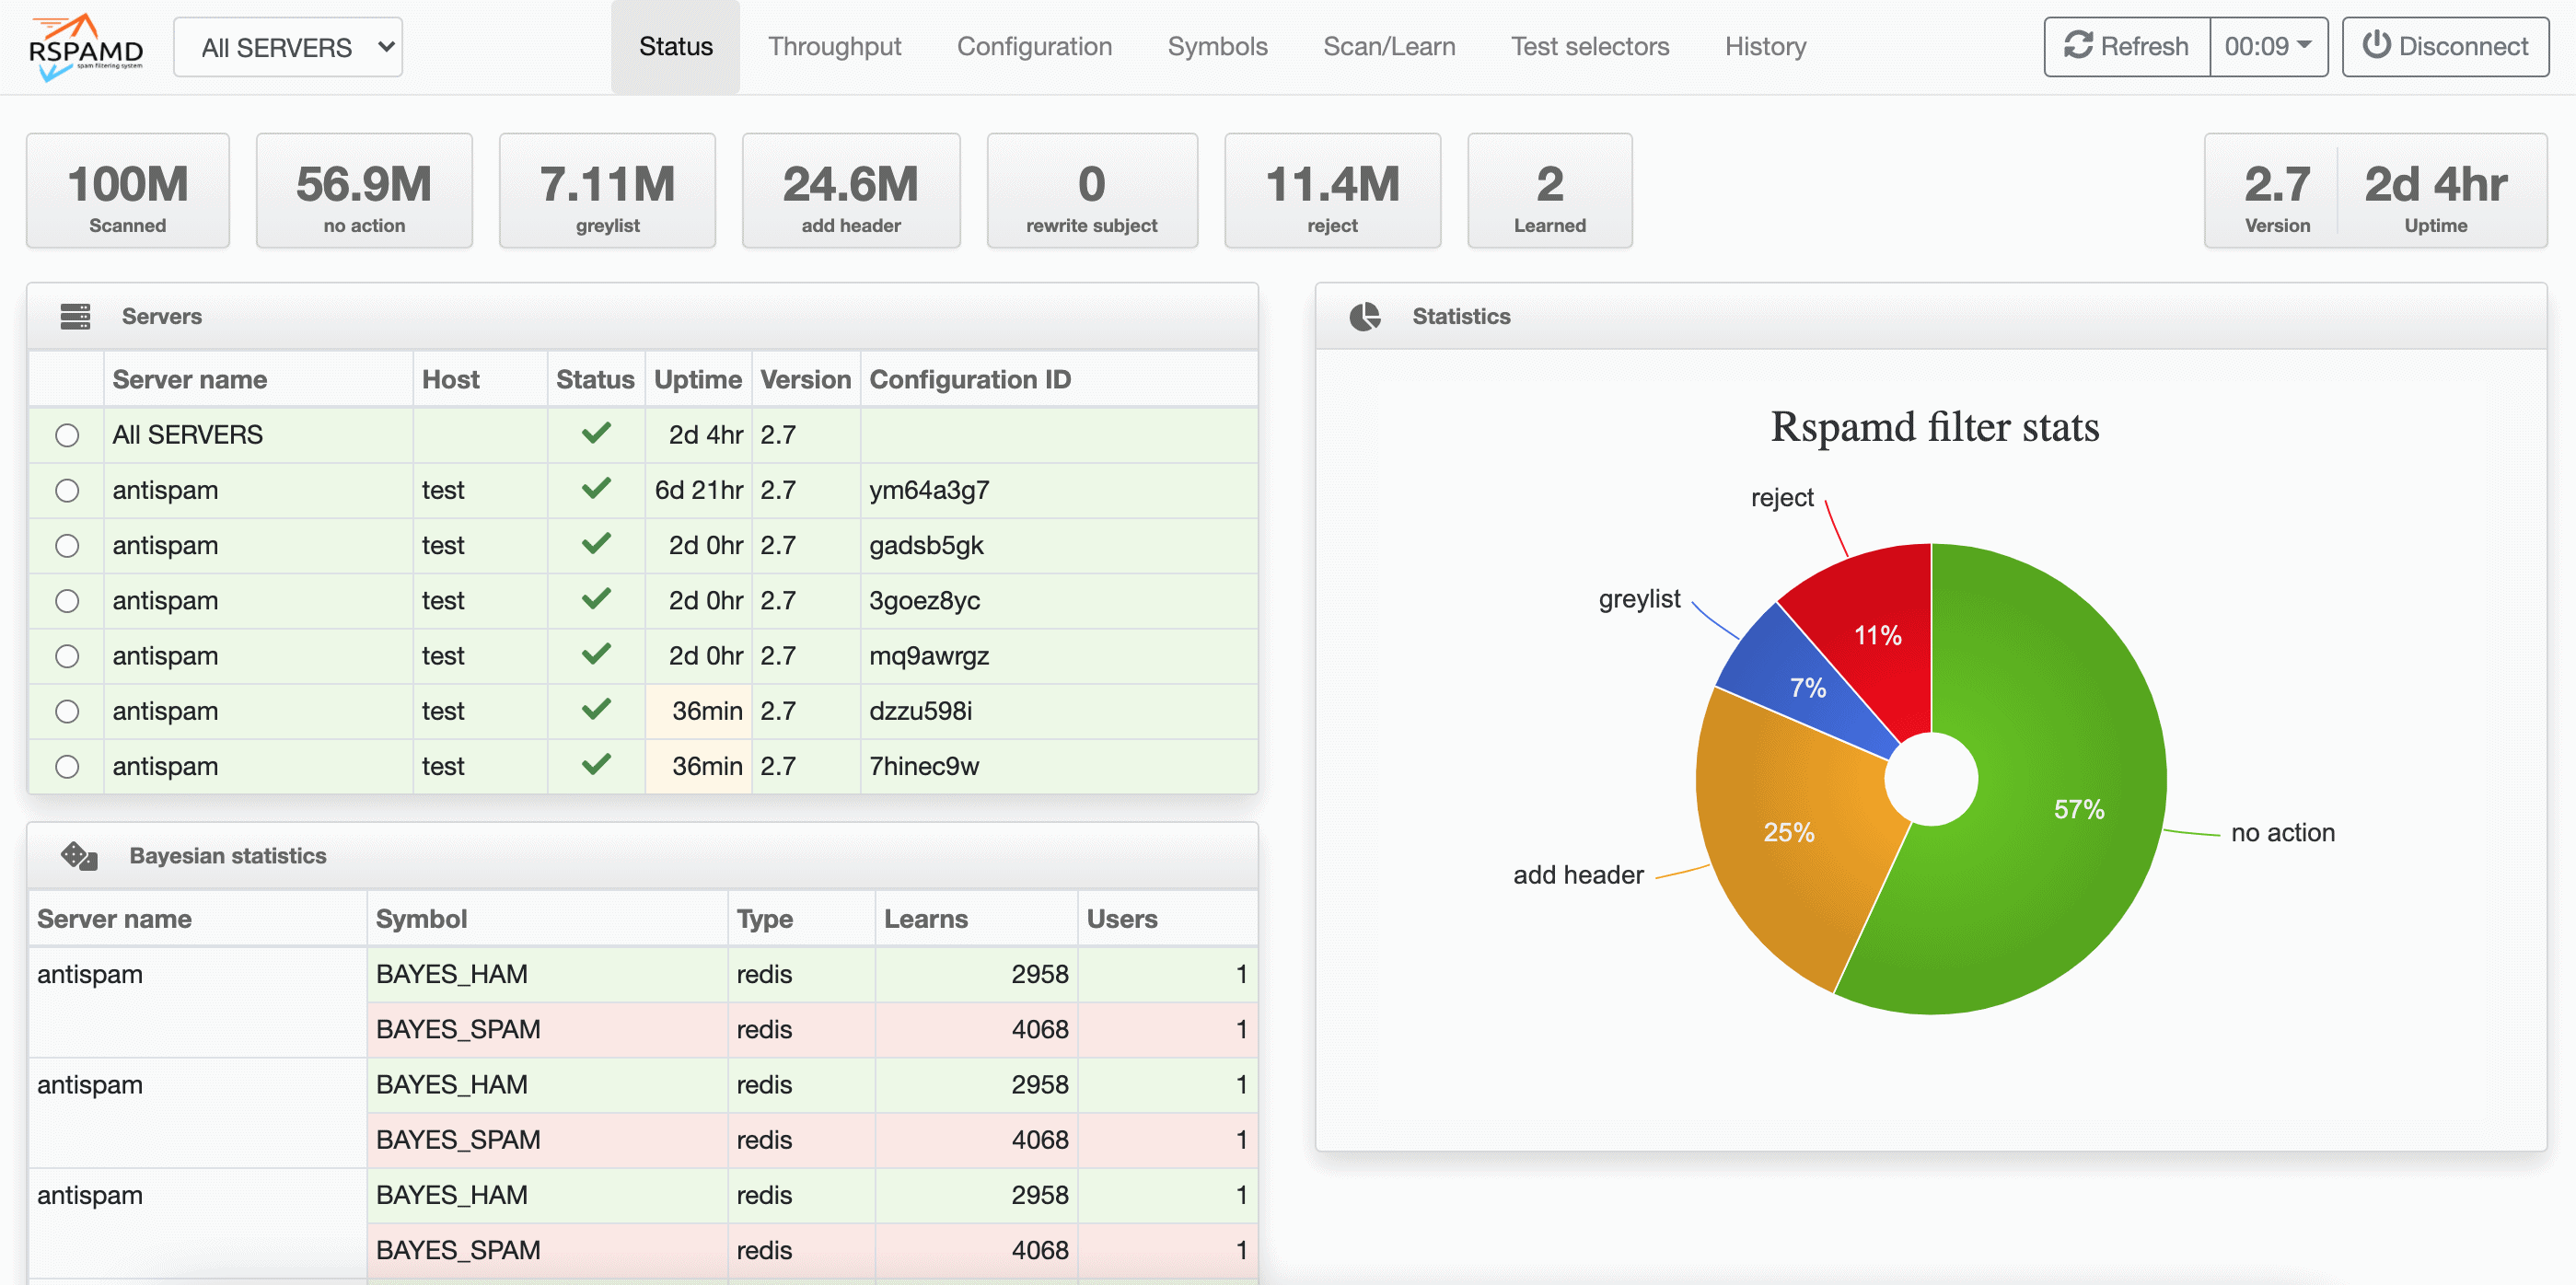
12. Setup Rspam Web UI [Optional]
Rspamd offer a web interface as default.
The rspamd web is running at http://localhost:11334.
Note:
- You have to open firewall port 11334 or use nginx proxy.
- It require a password to open it.
a. Generate a password for WEB UI
docker exec -it mailserver rspamadm pw
it'll ask you to input your password for Web UI.
$2$gg7f7cjxt9ky7dcounhac91jcki4uo48$brtzi1s5rimhpz56geh5o7uwup131bxxx
b. Setup your password for WEB UI
Now we will going to setup the password.
Make sure you're still in right path
cd /srv/mailserver
Create new config custom-commands.conf
nano docker-data/dms/config/rspamd/custom-commands.conf
set-option-for-controller password "$2$gg7f7cjxt9ky7dcounhac91jcki4uo48$brtzi1s5rimhpz56geh5o7uwup131bxxx"
Then save it by press ctrl+x and enter.
c. Restart Mailserver
docker compose restart
Now you can visit to http://123.123.123.123:11334.
13. Setup Queue Rate Postfix [Optional]
The reason we should set up this is to control how many emails the server sends at once and how fast it sends them, so we can:
- Avoid overloading the server
- Prevent get blacklisted as spam
- Respect rate limits of destination servers (like Gmail, Outlook, etc.)
- Lower memory and CPU usage on high email traffic
Now we will going to setup this,
Make sure we still on the right path
cd /srv/mailserver/
Create new config postfix-main.cf to override the default postfix config
nano docker-data/dms/config/postfix-main.cf
then paste this
# Disable local recipient delivery for system users
local_recipient_maps =

# Concurrency limits
# ---
# Max emails at once per domain
default_destination_concurrency_limit = 2
# Max SMTP connections per domain
smtp_destination_concurrency_limit = 2
# Start with 1, increase if successful
initial_destination_concurrency = 1

# Delay between deliveries
# ---
# Wait between batches to same domain
smtp_destination_rate_delay = 5s

# Rate limiting
# ---
# Maximum messages per connection
smtp_destination_recipient_limit = 100

# Retry strategies
# ---
# Max wait before retry: ~4 hrs
maximal_backoff_time = 14400s
# Give up after 3 days
maximal_queue_lifetime = 3d

# Caching
# ---
# Keep SMTP connection cache for 5s
smtp_connection_cache_time_limit = 5s

# Bounce and Error handling
# ---
# Be conservative with retries
bounce_queue_lifetime = 3d
Done, now you have to down the container and then start the mailserver
docker compose down -v
docker compose up -d
Make a test to make sure default postfix config has been override
docker exec -it mailserver postconf default_destination_concurrency_limit
The output should like this below
default_destination_concurrency_limit = 2 # Max emails at once per domain
With above postfix queue configuration you will get:
- OTP Capacity: sending 900 emails/hour per domain.
- Bulk Capacity: sending 21.600 emails/day per domain.
- Realistic capacity: 50K-200K emails/day for 10-100 domain.
- Ideal for 10-20K subscribe members.
- Ideal for startups-medium business.
Never increase the value greater than above except you're running multiple ip address.
Because mostly provider have its own limit 10K-20K emails/day for single ip address mailserver.
If your ip address still new or have no reputation, reduce it:
default_destination_concurrency_limit = 1
smtp_destination_concurrency_limit = 1
smtp_destination_rate_delay = 15s
Hold it for 1 months.
14. Uninstall Completely
If you has been failed to configure the Mailserver or just in case want to completely uninstall Mailserver.
a. Remove Mailserver Service
Go to the mailserver directory
cd /srv/mailserver/
Take down, remove the service and delete its volume on docker.
docker compose down --volumes
- This only remove the mailserver service and remove all its data.
- This won't uninstall your docker system.
b. Delete its directory
Go up directory.
cd ..
Delete mailserver directory.
rm -rf mailserver
c. Verify the service
To make sure it has been removed.
docker container ls -a
Make sure there is no container name mailserver on the list.
Done.